
We have spent so much time on the Monza that we think we must be mad!
but there has been progress, its coming on a treat......

The new blue line gives it a fresh look. We used Japlac ' Flying High' for this.
The exterior paintwork is not a job you can rush
Kevin is using Hamerite Smooth white on the metal siding, it's very thin, runny paint and dries quickly. We have been having great weather which is ideal for keeping us motivated to get things done, but in the real heat of the day the paint is drying fast on the brush! I did have a go with this, to help Kevin but you can only brush on small amounts at a time and Kevin has already mastered it, I have to admit, I don't have the patience to do it, so I went back to my curtains....

The new carpet, which took me 3 days to fit all in one piece, with the help of our trusty electric staplegun......worth it though it looks fab and feels great underfoot. We had some great recycled felt wool underlay left from another project just taking up space in the shed

It's great to find a use for it,
made from re-cycled woolly jumpers and other clothing
no doubt, it will keep us warm at night.

All the original metal air vent covers were still intact but a bit rusty.
A nice coat of black sorted them out.
Our new seats

I was lucky to find a very large pair of vintage curtains on ebay, big enough to recover the all front and back seat cushions.

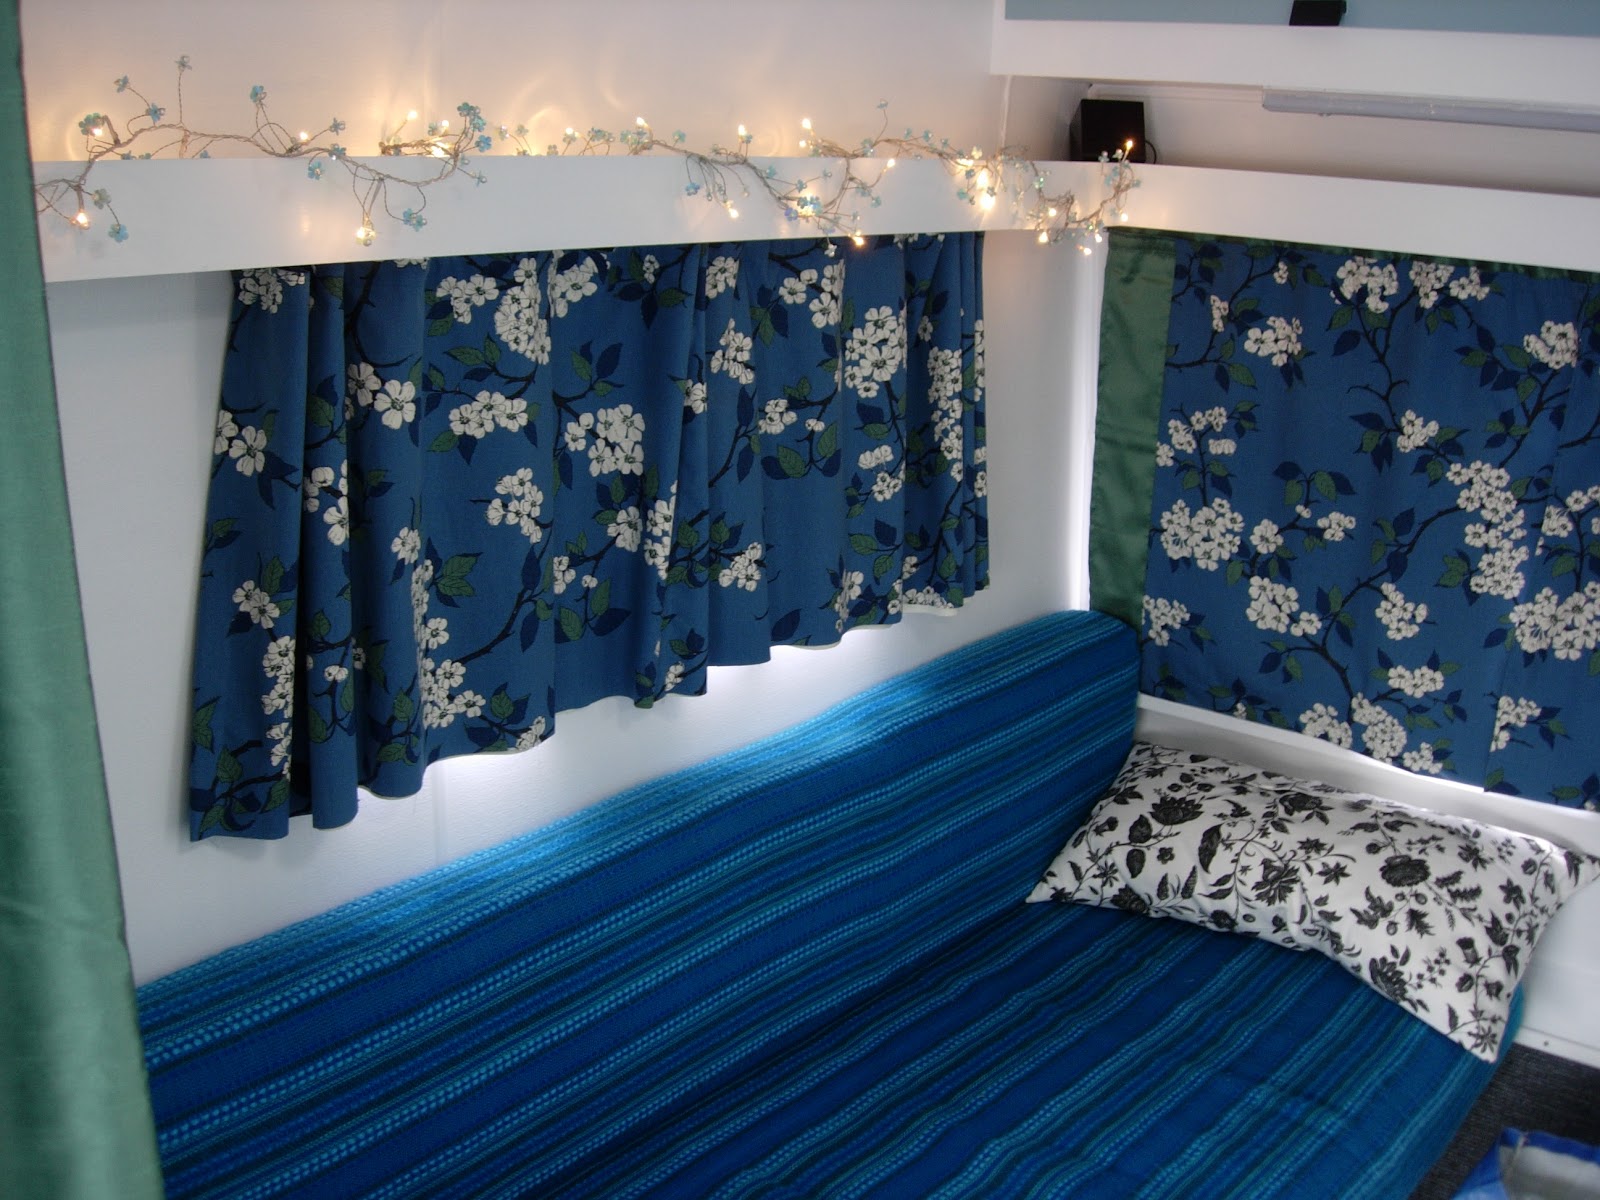
..... and some beautiful blossom print furnishing fabric I bought on ebay about a year ago was just enough to the millimeter to make all the curtains.
I added blackout linings.... to keep the early morning sun rays out and also to keep the van cool in the hotter days.

The front seating and dining area. The seats make up a double bed.
The black and white cushons are from IKEA they are feather filled and big enough to double up as pillows.
I bought these about 5 years ago they are as new, packed away when we got a new sofa that did'nt need them it's good that we can now use them again!
This is the back sofa area which makes into a double bed.
Curtains closed so I could see how effective the pretty blue blossom flower lights are.

Table rail re-fitted just below the window.

I didnt want to refit the large heavy folding leg back on to the front table. We bought a new black 'Vika Curry' (strange name for a table leg!) from IKEA ...for only £2.04 its worth a try. We already have these legs on the worktop in my studio and they do the job. The advantage is the pole can screw on and off quite quickly and can be cut to size with a neat plastic foot to cover the cut edge and gives a nice finish.

Kevin is adding a layer of Sikoflex sealant to the plate before screwing it down as the table is lightweight particle board and there isnt much for the screws to grip into.
This is the topside of the table.
After removing the heavy fold up leg I turned it over and used filler in the various screw holes where the fixings had been damaged and re-postitioned about six times.

I gave it two coats of white vinyl silk paint and set to work to give it a new lease of life with a decoupage finish using stamps.
I bought a lot of 400 world stamps from ebay cost about £3 I was delighted with them some of the pictures are beautiful.
We also added to the stamp pile with some old UK and USA stamps which had been taken from old letters that my dad had kept ...some from his brother and sister in USA, my mother was going to hand them in to charity but I felt that they were special and hung on to them. Im glad I did.
My Dad would have loved what we did with them.
Kevin also added to the stamp pile with some 1st issues that he has had since he was a boy, his dad had collected these for him over the years.

I really enjoyed working on this. It was like doing a jigsaw with no set picture to follow.
I attached each stamp with PVA glue using a flat brush. The finished surface was sealed with a few coats of clear varnish.

So our little table has some history captured in it and all can be enjoyed, we both agreed this was a much better way to keep them and enjoy them, than having them sat piled up in a drawer.

We will never tire of sitting here with all these stamps to ponder over from around the world.

click on the picture to see more detail.....

Hanging just below the front window.
A little candle lantern from the garden I revamped with a couple of coats of white paint.
As you can see we have already tested out the lovely large vanilla scented candle inside!
We are so looking forward to getting away in our little van.......not long now!
Hope you enjoyed the pictures of what we have done so far :)


